
In this article I will describe how to install the very first available release of Oracle Database 19c (19.2.0.0) binaries on Oracle Linux 7.6. Even though it’s not officially released for Oracle Linux non-Exadata yet, in edelivery it is available an Exadata DB version that is compatible with your local machine running OL.
Use it for test purposes only and to see what is coming in this new release.
First of all open https://edelivery.oracle.com/ and Sign In.
Search for “Oracle Database (Available and Supported only on Exadata)“.
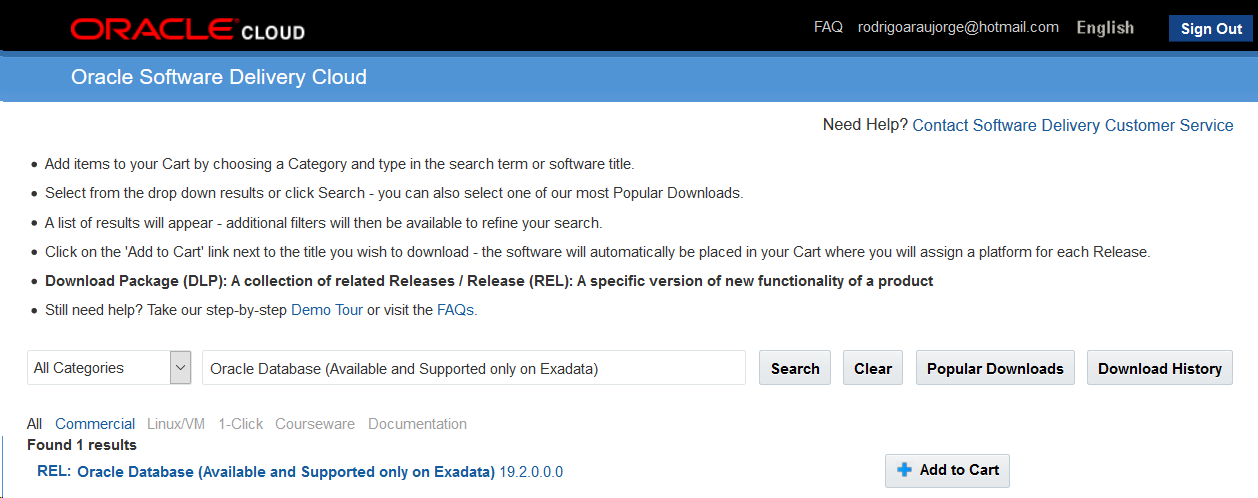
Add the REL: Oracle Database (Available and Supported only on Exadata) 19.2.0.0.0.
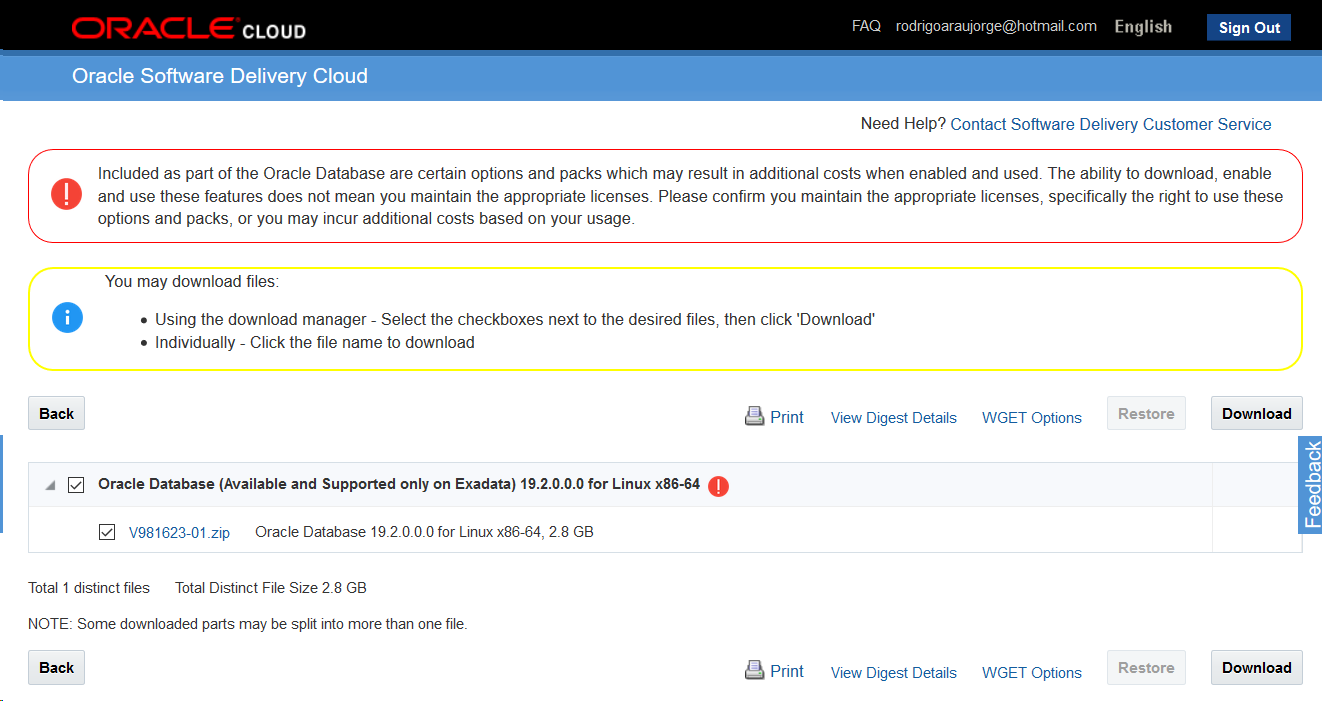
Now you can either download the file to your machine or generate the WGET script to download it directly to your linux server. In my case I downloaded the zip file and transferred to my Virtual Box.
Keep this file for later usage. Now let’s start preparing our VM.
I’ve deployed a brand new Oracle Linux 7.6 using vagrant with 2G RAM only. It’s available at this link: https://github.com/oracle/vagrant-boxes/.
I used vagrant because its very fast and easy to deploy a server, taking less than 10 minutes (not kidding). However, you may also use your own cloud/virtual/physical server.
So the first step is to check the hostname of your machine to /etc/hosts with it’s own IP (not 127.0.0.1), or listener configuration will fail:
[root@ol7-vagrant ~]# hostname
ol7-vagrant
[root@ol7-vagrant ~]# ifconfig
eth0: flags=4163<UP,BROADCAST,RUNNING,MULTICAST>  mtu 1500
        inet 10.0.2.15  netmask 255.255.255.0  broadcast 10.0.2.255
        inet6 fe80::a00:27ff:fe20:edbc  prefixlen 64  scopeid 0x20<link>
        ether 08:00:27:20:ed:bc  txqueuelen 1000  (Ethernet)
        RX packets 48172  bytes 12616731 (12.0 MiB)
        RX errors 0  dropped 0  overruns 0  frame 0
        TX packets 27309  bytes 3558673 (3.3 MiB)
        TX errors 0  dropped 0 overruns 0  carrier 0  collisions 0

lo: flags=73<UP,LOOPBACK,RUNNING>  mtu 65536
        inet 127.0.0.1  netmask 255.0.0.0
        inet6 ::1  prefixlen 128  scopeid 0x10<host>
        loop  txqueuelen 1000  (Local Loopback)
        RX packets 53385  bytes 17629596 (16.8 MiB)
        RX errors 0  dropped 0  overruns 0  frame 0
        TX packets 53385  bytes 17629596 (16.8 MiB)
        TX errors 0  dropped 0 overruns 0  carrier 0  collisions 0

[root@ol7-vagrant ~]# cat /etc/hosts
10.0.2.15       ol7-vagrant     ol7-vagrant
127.0.0.1   localhost localhost.localdomain localhost4 localhost4.localdomain4
::1         localhost localhost.localdomain localhost6 localhost6.localdomain6

[root@ol7-vagrant ~]#
Next, let’s speed up the things downloading all the pre-reqs with yum. Note that the 18c preinstall works well for 19c DB:
[root@ol7-vagrant ~]# yum install -y oracle-database-preinstall-18c.x86_64
ol7_UEKR5                                                                                        | 1.2 kB  00:00:00
ol7_addons                                                                                       | 1.2 kB  00:00:00
ol7_developer                                                                                    | 1.2 kB  00:00:00
ol7_developer_EPEL                                                                               | 1.2 kB  00:00:00
ol7_latest                                                                                       | 1.4 kB  00:00:00
ol7_optional_latest                                                                              | 1.2 kB  00:00:00
Resolving Dependencies
--> Running transaction check
---> Package oracle-database-preinstall-18c.x86_64 0:1.0-1.el7 will be installed

( many more lines suppressed )

Installed:
  oracle-database-preinstall-18c.x86_64 0:1.0-1.el7

Dependency Installed:
  bc.x86_64 0:1.06.95-13.el7                                           bind-libs.x86_64 32:9.9.4-73.el7_6
  bind-utils.x86_64 32:9.9.4-73.el7_6                                  compat-libcap1.x86_64 0:1.10-7.el7
  compat-libstdc++-33.x86_64 0:3.2.3-72.el7                            gssproxy.x86_64 0:0.7.0-21.el7
  keyutils.x86_64 0:1.5.8-3.el7                                        ksh.x86_64 0:20120801-139.0.1.el7
  libICE.x86_64 0:1.0.9-9.el7                                          libSM.x86_64 0:1.2.2-2.el7
  libX11.x86_64 0:1.6.5-2.el7                                          libX11-common.noarch 0:1.6.5-2.el7
  libXau.x86_64 0:1.0.8-2.1.el7                                        libXext.x86_64 0:1.3.3-3.el7
  libXi.x86_64 0:1.7.9-1.el7                                           libXinerama.x86_64 0:1.1.3-2.1.el7
  libXmu.x86_64 0:1.1.2-2.el7                                          libXrandr.x86_64 0:1.5.1-2.el7
  libXrender.x86_64 0:0.9.10-1.el7                                     libXt.x86_64 0:1.1.5-3.el7
  libXtst.x86_64 0:1.2.3-1.el7                                         libXv.x86_64 0:1.0.11-1.el7
  libXxf86dga.x86_64 0:1.1.4-2.1.el7                                   libXxf86misc.x86_64 0:1.0.3-7.1.el7
  libXxf86vm.x86_64 0:1.1.4-1.el7                                      libaio-devel.x86_64 0:0.3.109-13.el7
  libbasicobjects.x86_64 0:0.1.1-32.el7                                libcollection.x86_64 0:0.7.0-32.el7
  libdmx.x86_64 0:1.1.3-3.el7                                          libevent.x86_64 0:2.0.21-4.el7
  libini_config.x86_64 0:1.3.1-32.el7                                  libnfsidmap.x86_64 0:0.25-19.el7
  libpath_utils.x86_64 0:0.2.1-32.el7                                  libref_array.x86_64 0:0.1.5-32.el7
  libstdc++-devel.x86_64 0:4.8.5-36.0.1.el7                            libtirpc.x86_64 0:0.2.4-0.15.el7
  libverto-libevent.x86_64 0:0.2.5-4.el7                               libxcb.x86_64 0:1.13-1.el7
  lm_sensors-libs.x86_64 0:3.4.0-6.20160601gitf9185e5.el7              mailx.x86_64 0:12.5-19.el7
  nfs-utils.x86_64 1:1.3.0-0.61.0.1.el7                                psmisc.x86_64 0:22.20-15.el7
  quota.x86_64 1:4.01-17.el7                                           quota-nls.noarch 1:4.01-17.el7
  rpcbind.x86_64 0:0.2.0-47.el7                                        smartmontools.x86_64 1:6.5-1.el7
  sysstat.x86_64 0:10.1.5-17.el7                                       tcp_wrappers.x86_64 0:7.6-77.el7
  unzip.x86_64 0:6.0-19.el7                                            xorg-x11-utils.x86_64 0:7.5-23.el7
  xorg-x11-xauth.x86_64 1:1.0.9-1.el7

Complete!
[root@ol7-vagrant ~]#
Cool. Now I got all the pre-reqs installed. Next step is to transfer and the installation files:
Fine, now this part is important. Different from common pre-18c Oracle Database installation binaries, this one is the ORACLE_HOME ready to be deployed. You will still need to call the ./runInstaller, but the zip itself is already the ORACLE_HOME. So you will need to extract it directly to the place we want your binaries to be placed:
[root@ol7-vagrant ~]# mkdir -p /u01/app/oraInventory
[root@ol7-vagrant ~]# mkdir -p /u01/app/oracle/product/19.2.0/dbhome_1
[root@ol7-vagrant ~]# chown -R oracle: /u01/app/oraInventory
[root@ol7-vagrant ~]# chown -R oracle: /u01/app/oracle
[root@ol7-vagrant ~]# su - oracle
[oracle@ol7-vagrant ~]$ unzip -q /vagrant/V981623-01.zip -d /u01/app/oracle/product/19.2.0/dbhome_1/
Now we are ready to install it.
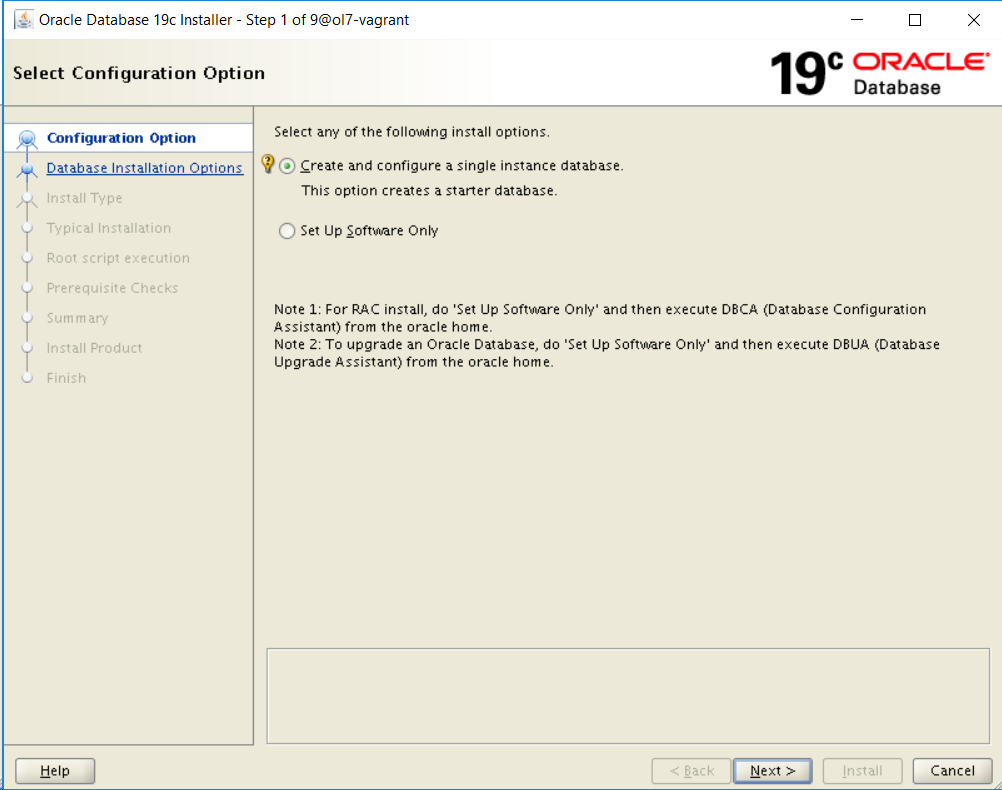
[oracle@ol7-vagrant ~]$ export ORACLE_HOME=/u01/app/oracle/product/19.2.0/dbhome_1
[oracle@ol7-vagrant ~]$ /u01/app/oracle/product/19.2.0/dbhome_1/runInstaller
Launching Oracle Database Setup Wizard...
And here we go. Choose “Create and configure a single instance database”:
In next screen select “Server class” for more advanced options:

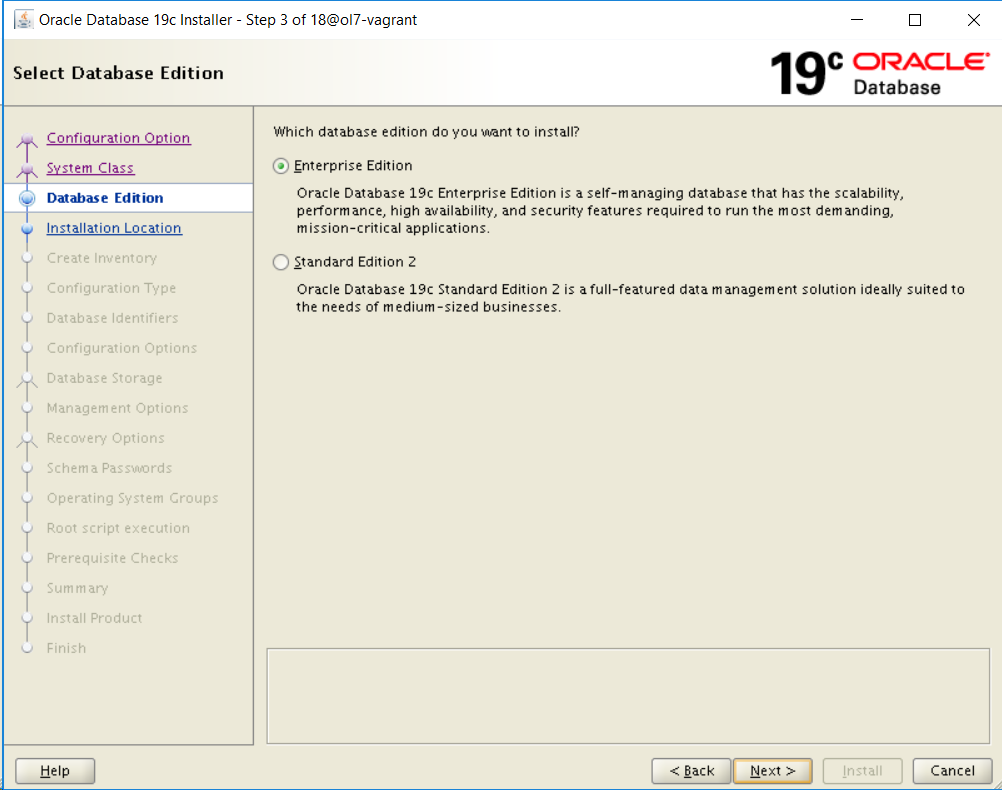
Let’s go with “Enterprise Edition”:
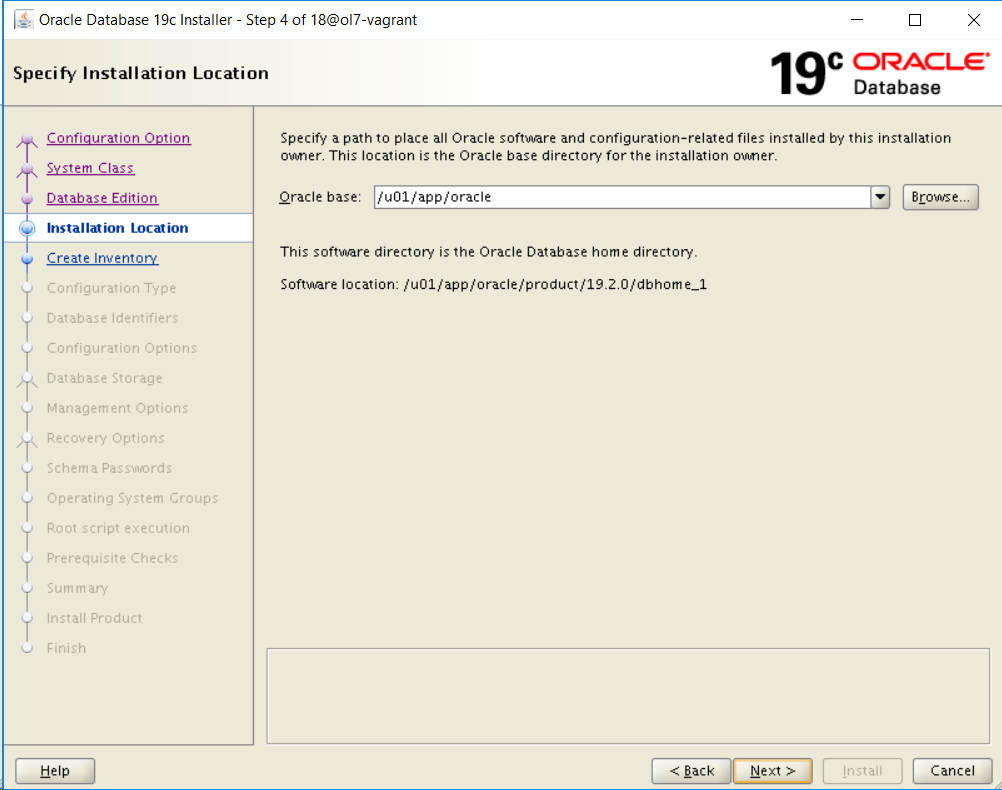
In next screen where we choose the Oracle base folder:
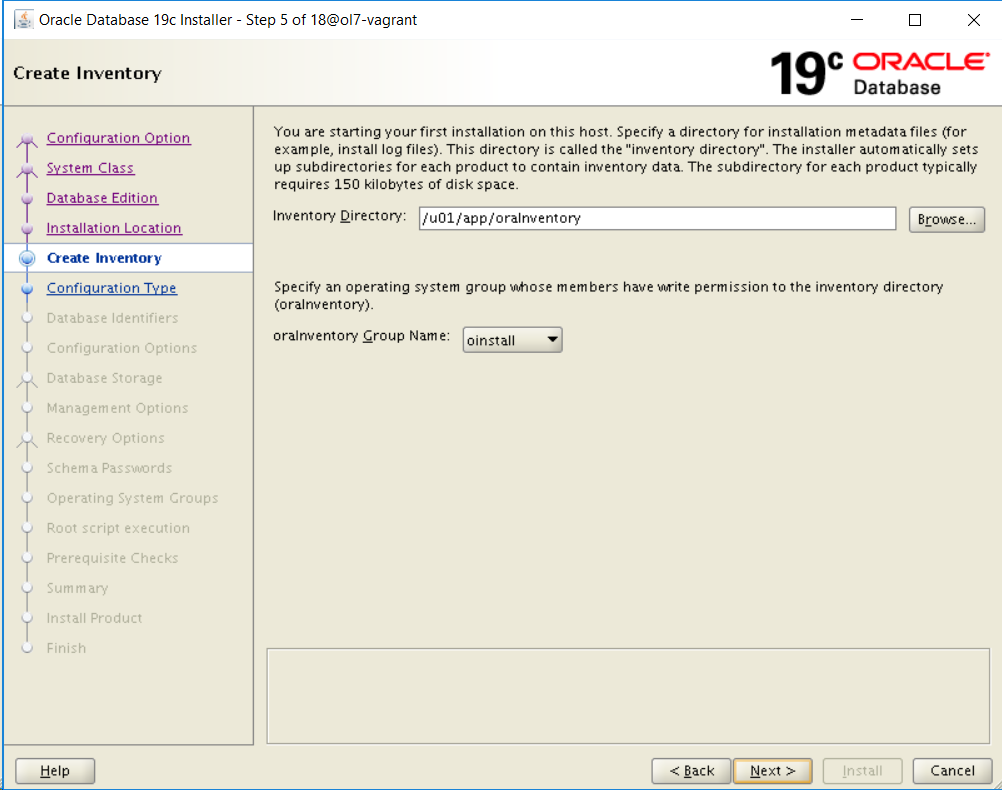
Set the inventory directory:
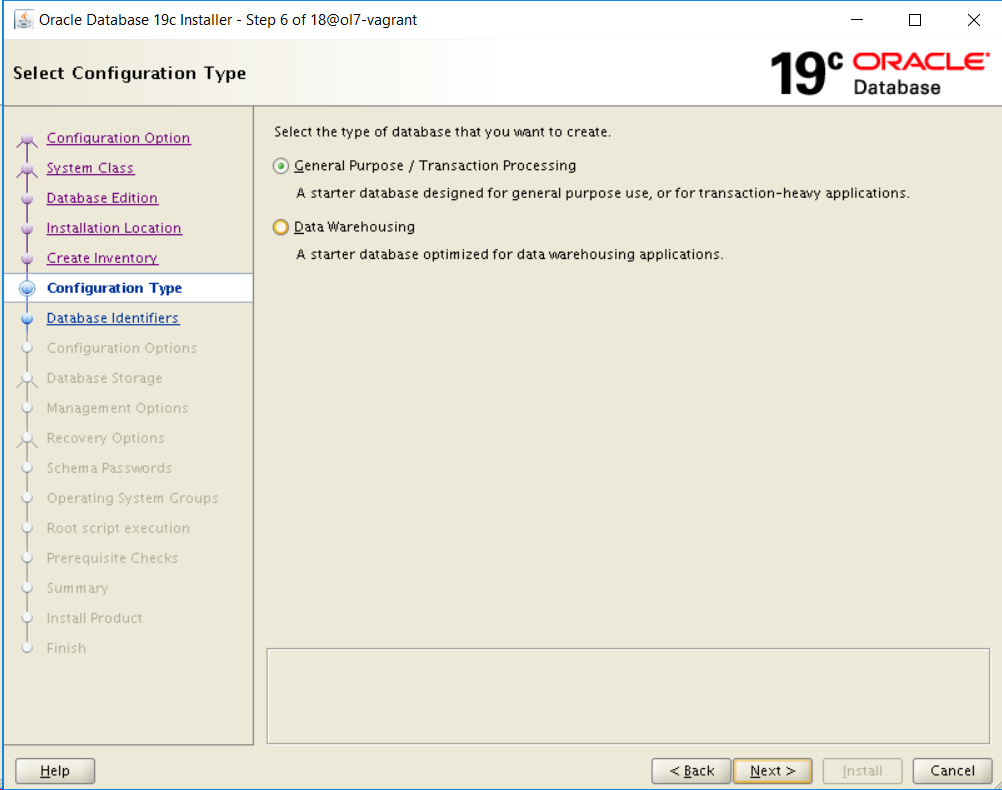
Let’s go with a General Purpose DB:
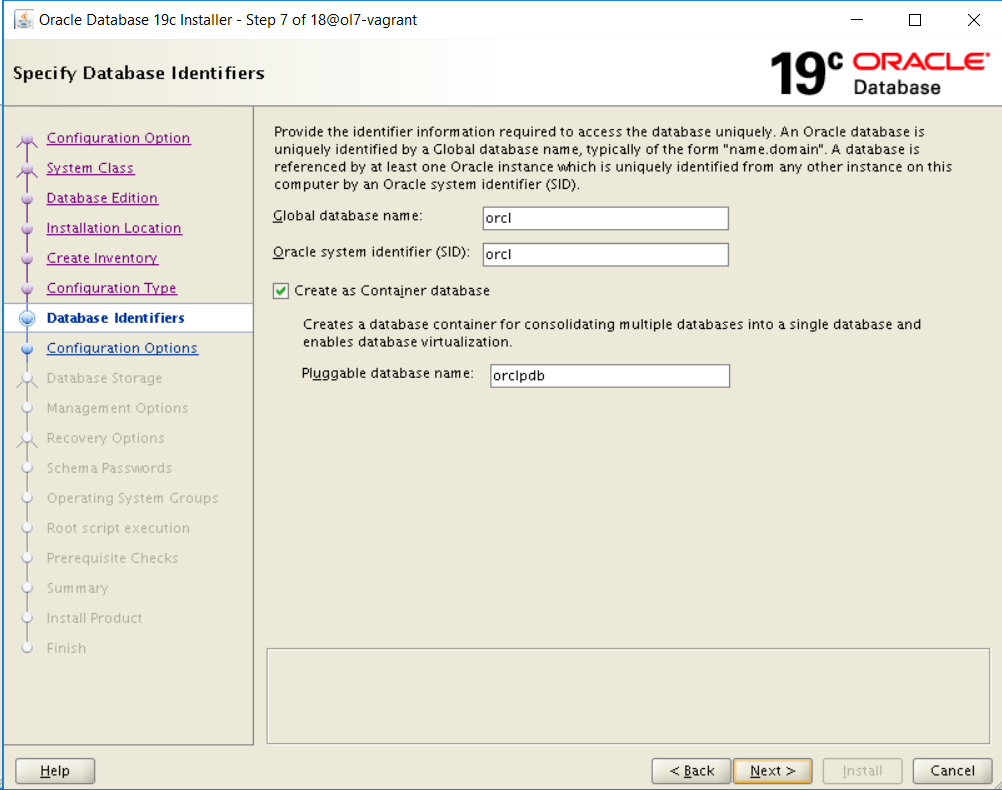
Keeping my DB name as orcl:
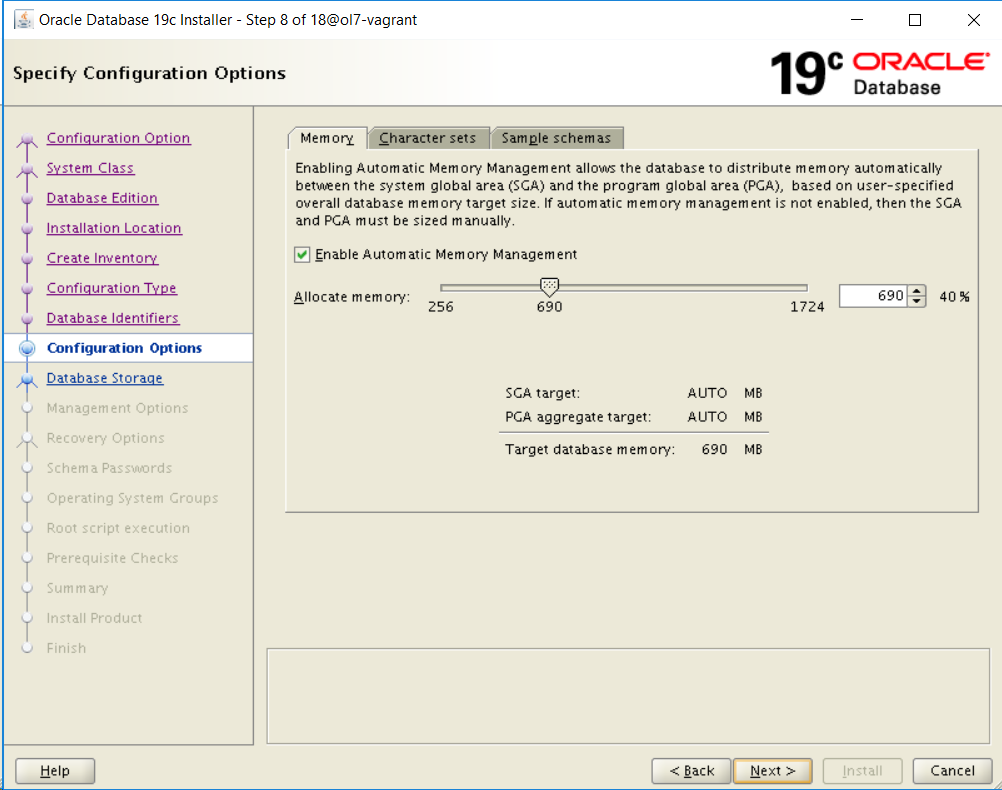
Now I will keep memory very low as my whole machine has only 2G:
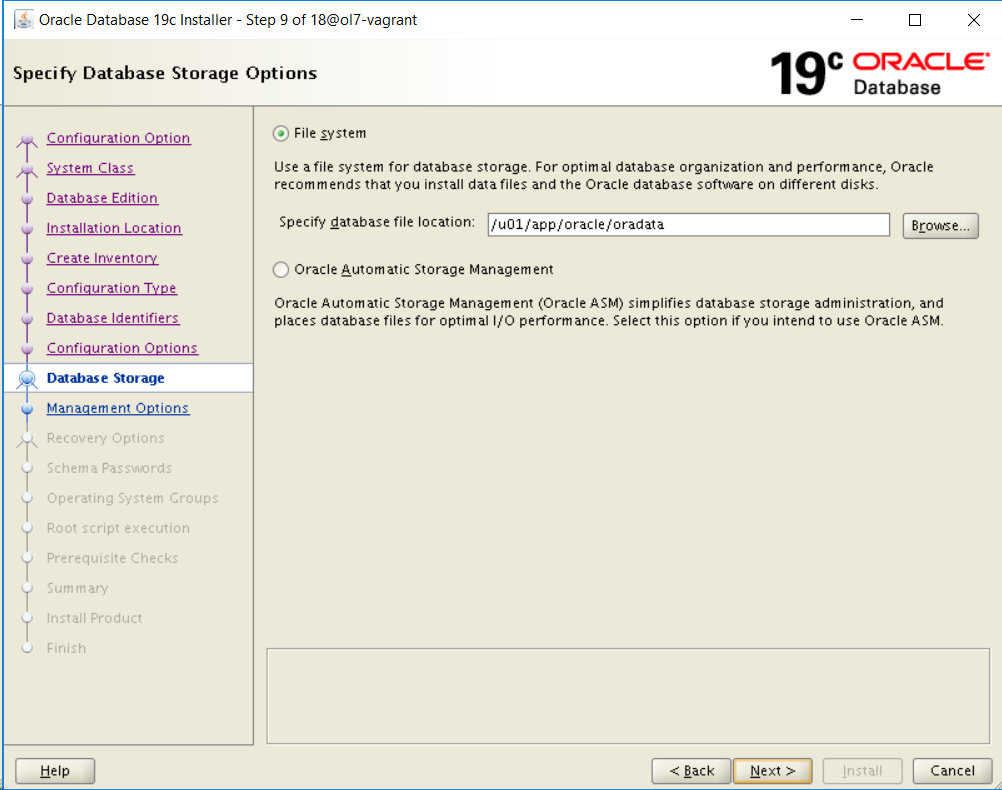
Next screen is the data file location. I will keep it in my Oracle Base:
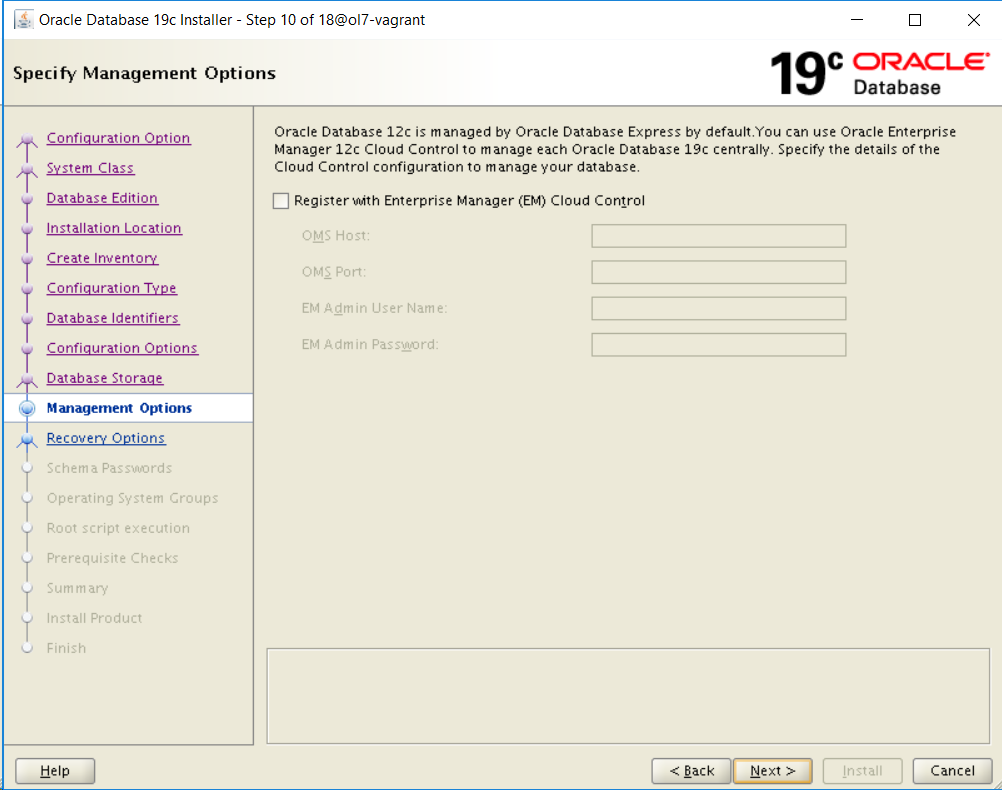
No EM for now as I’m low in memory =P
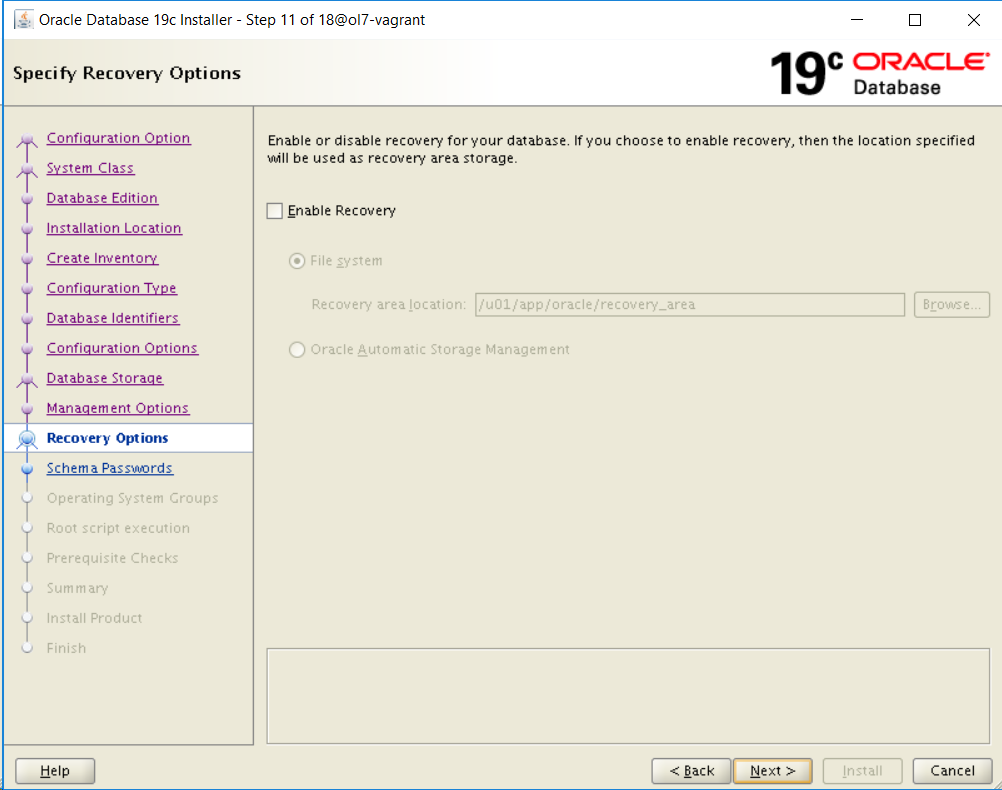
Also no Recovery, as this is for testing new features only:
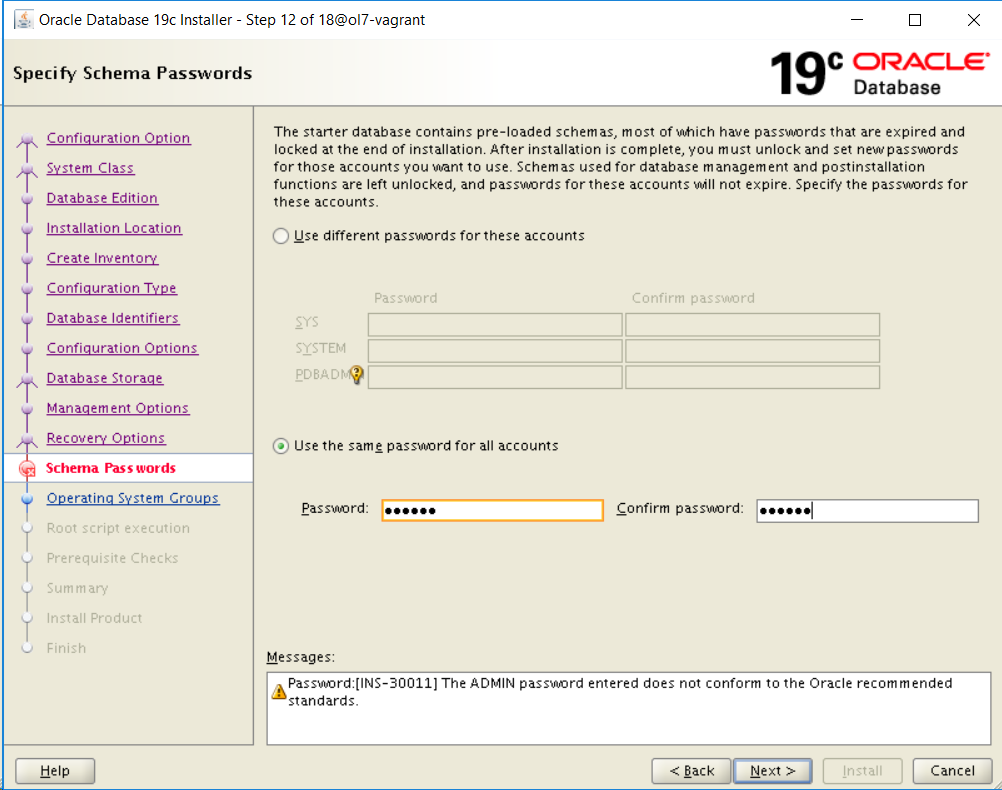
Time to set password. Here I will put “oracle” for everyone:
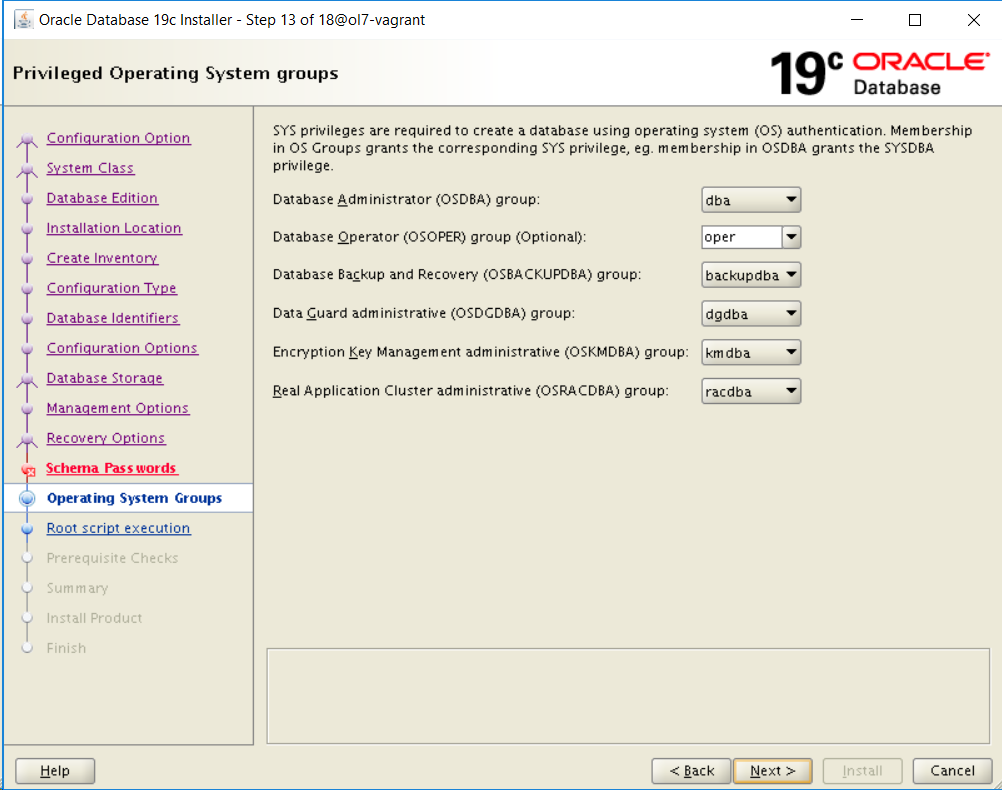
Check the OS groups:
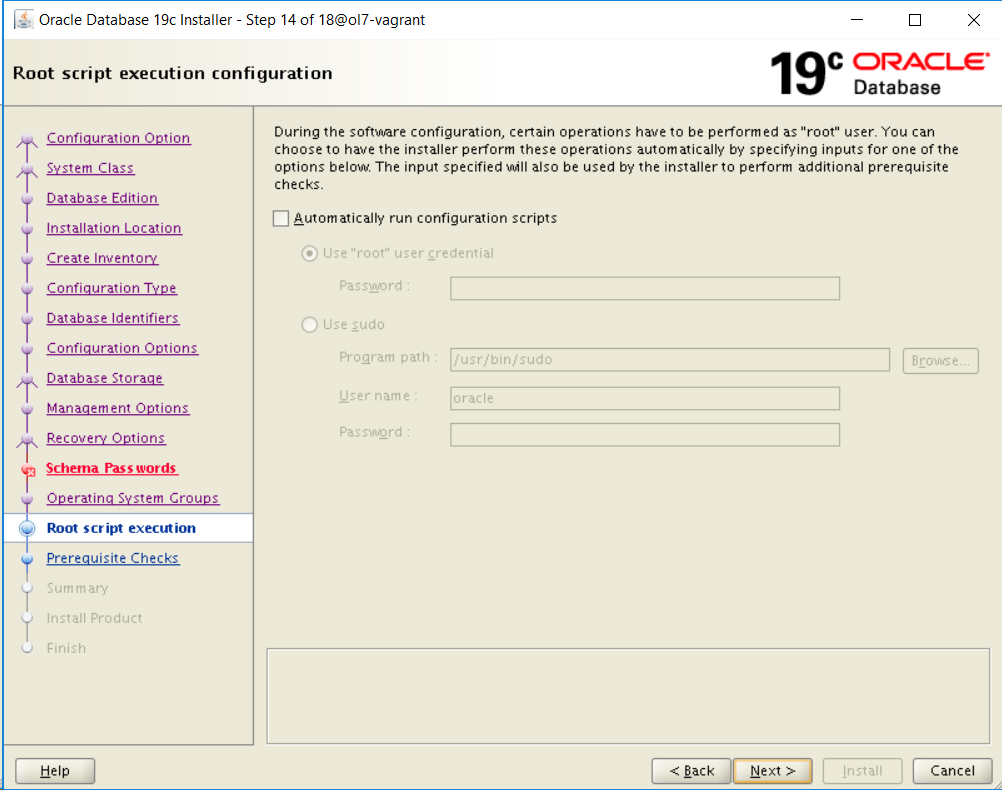
In the next screen, I define that I will execute manually the root scripts.. I don’t like to type my root password anywhere but in the console or give sudo to oracle:
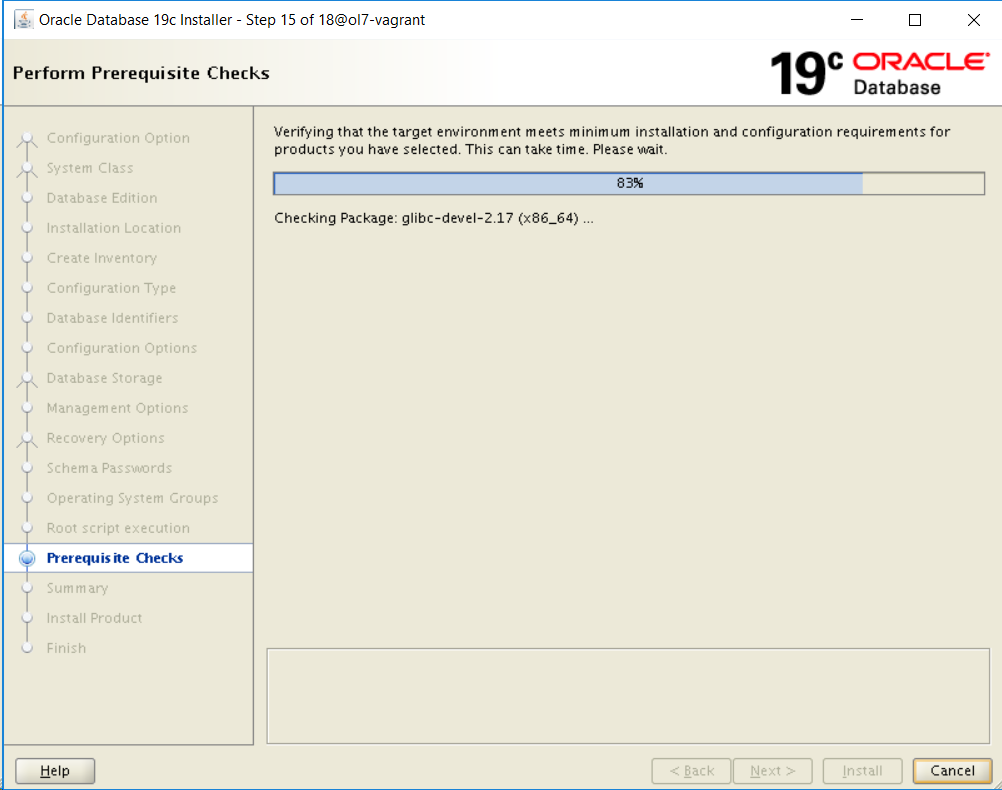
In next screen database will performe the prereq checks:
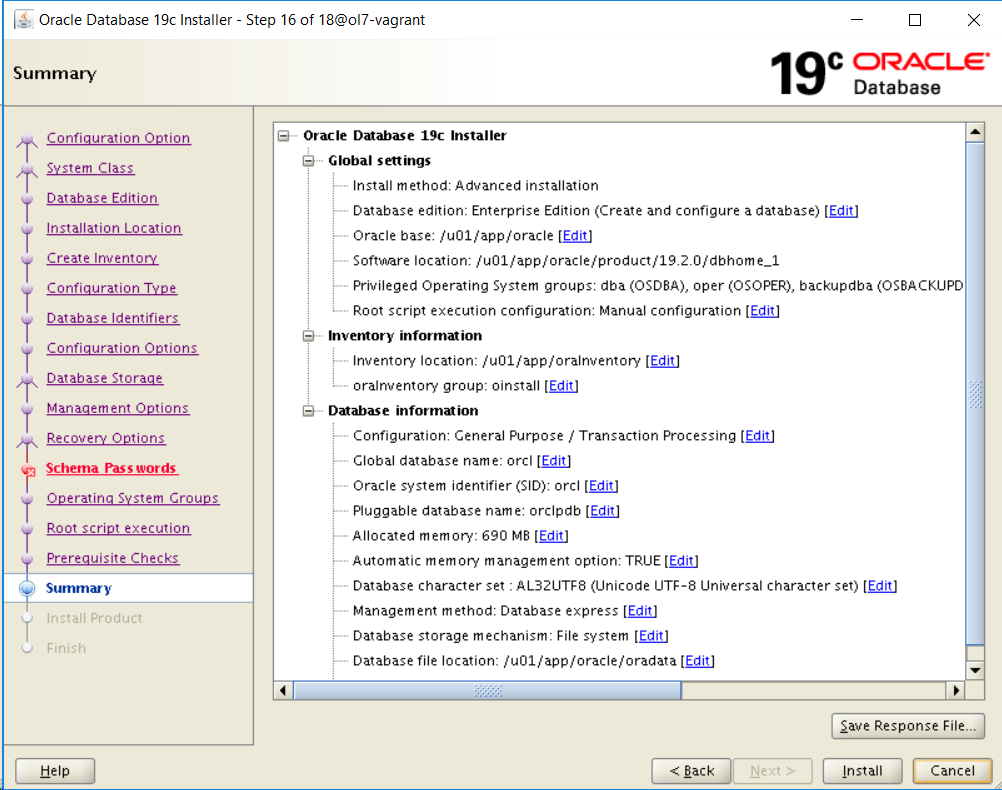
Check the Summary.
Press Install and installation will start.
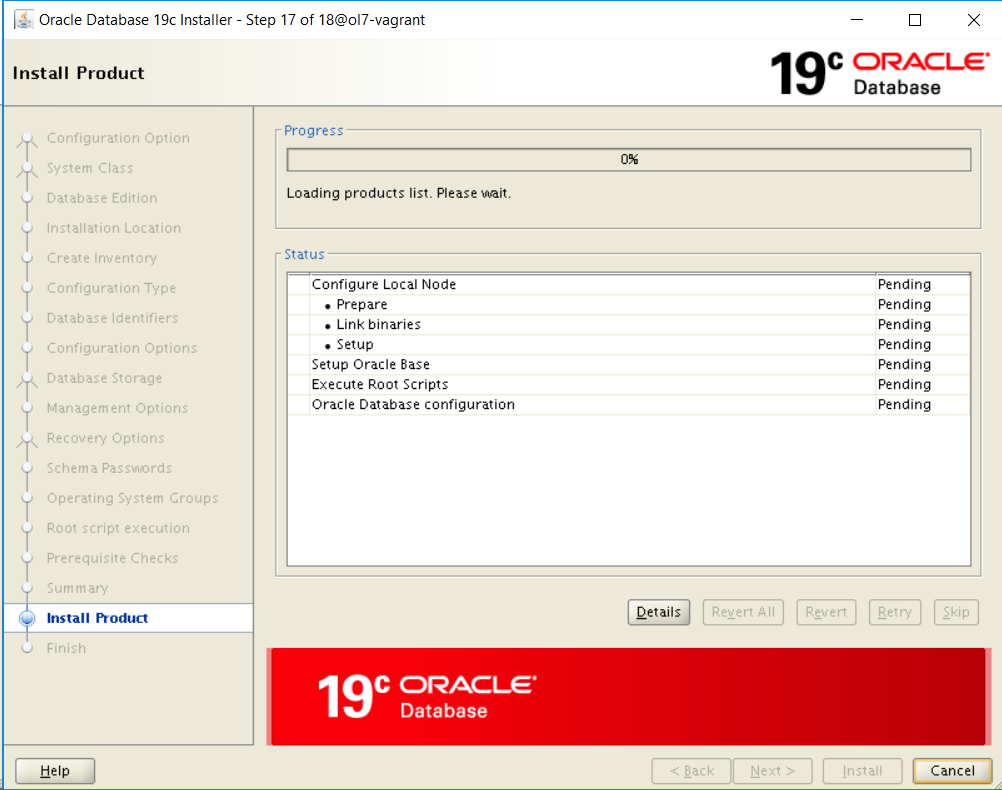
Wait for installation to prompt for scripts execution:
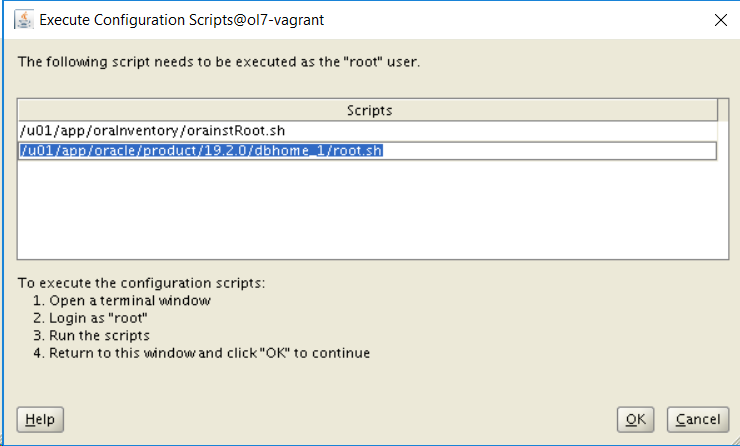
Time to run root scripts:
[root@ol7-vagrant ~]# /u01/app/oraInventory/orainstRoot.sh
Changing permissions of /u01/app/oraInventory.
Adding read,write permissions for group.
Removing read,write,execute permissions for world.

Changing groupname of /u01/app/oraInventory to oinstall.
The execution of the script is complete.
[root@ol7-vagrant ~]#
[root@ol7-vagrant ~]# /u01/app/oracle/product/19.2.0/dbhome_1/root.sh
Performing root user operation.

The following environment variables are set as:
    ORACLE_OWNER= oracle
    ORACLE_HOME=  /u01/app/oracle/product/19.2.0/dbhome_1

Enter the full pathname of the local bin directory: [/usr/local/bin]:
   Copying dbhome to /usr/local/bin ...
   Copying oraenv to /usr/local/bin ...
   Copying coraenv to /usr/local/bin ...


Creating /etc/oratab file...
Entries will be added to the /etc/oratab file as needed by
Database Configuration Assistant when a database is created
Finished running generic part of root script.
Now product-specific root actions will be performed.
Oracle Trace File Analyzer (TFA - Standalone Mode) is available at :
    /u01/app/oracle/product/19.2.0/dbhome_1/bin/tfactl

Note :
1. tfactl will use TFA Service if that service is running and user has been granted access
2. tfactl will configure TFA Standalone Mode only if user has no access to TFA Service or TFA is not installed

[root@ol7-vagrant ~]#
Press OK and wait a few more steps:
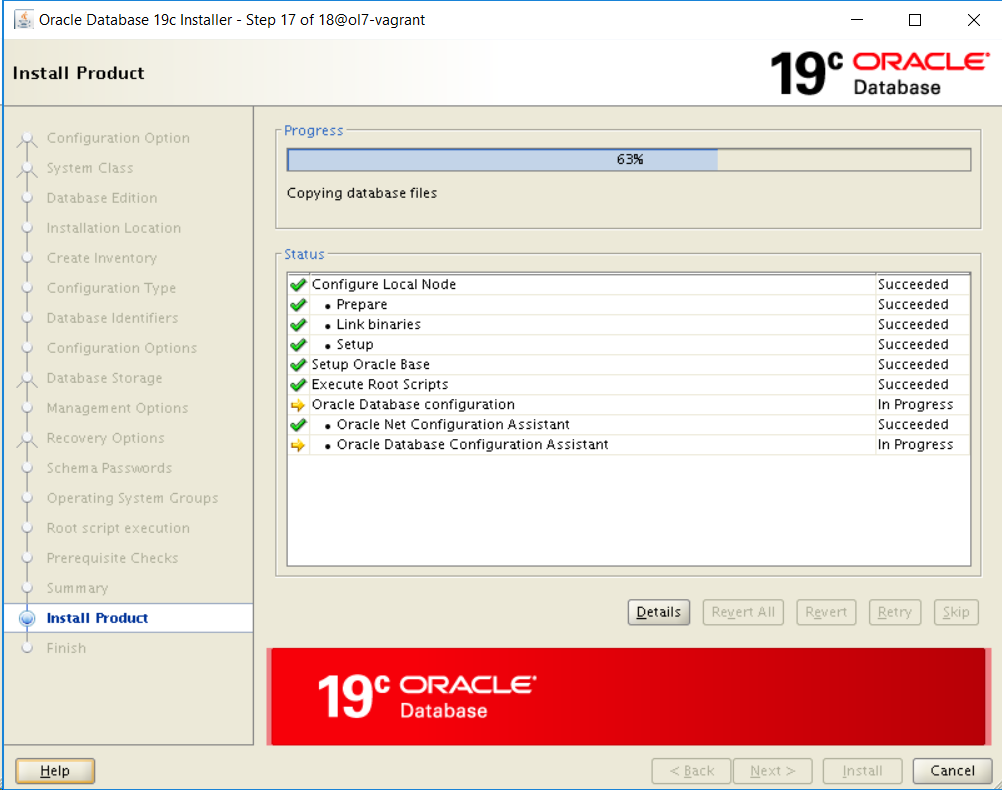
The database creation part is usually the who lasts longer..
And finally it’s completed:
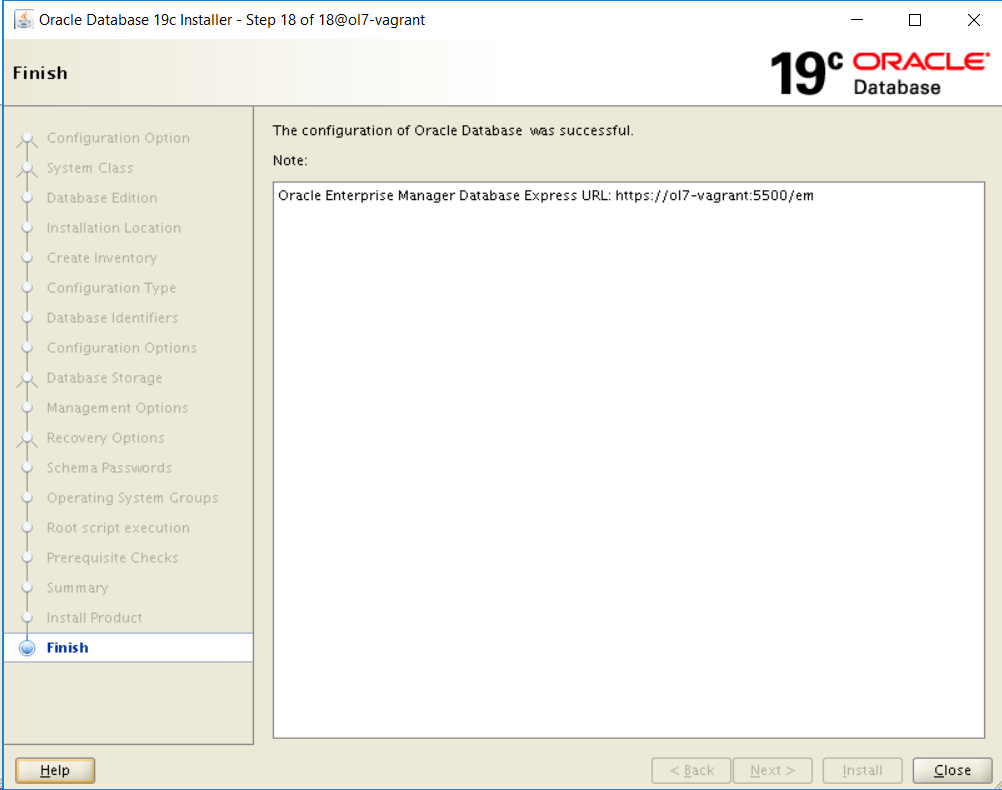
This last screen is has a buggy message, as I didn’t asked for EM.
Installation DB Install can be found here: db_install.rsp
Everything worked like a charm. And finally time to test:
[oracle@ol7-vagrant ~]$ export PATH=$PATH:$ORACLE_HOME/bin
[oracle@ol7-vagrant ~]$ export ORACLE_SID=orcl
[oracle@ol7-vagrant ~]$ sqlplus / as sysdba

SQL*Plus: Release 19.0.0.0.0 - Production on Thu Feb 14 18:13:15 2019
Version 19.2.0.0.0

Copyright (c) 1982, 2018, Oracle.  All rights reserved.


Connected to:
Oracle Database 19c Enterprise Edition Release 19.0.0.0.0 - Production
Version 19.2.0.0.0

SQL> show pdbs

    CON_ID CON_NAME                       OPEN MODE  RESTRICTED
---------- ------------------------------ ---------- ----------
         2 PDB$SEED                       READ ONLY  NO
         3 ORCLPDB                        READ WRITE NO
SQL>
Time to play with it. Have fun!
Have you enjoyed? Please leave a comment or give a 👍!


3 comments
Nice, very informative, keep going Rodrigo !!
Well , didn’t try to download/install as I have been misleaded by the comment “Exadata only”. Will try it on my OVM infra in one of my OEL7.6 VM’s. Thanks a lot Rodrigo for the compact but useful info !! Nice roadmap.
Succeeded on OVM
vmoralin19c : 2 Vcpu’s , 10 Gb RAM , 20 Gb swap , Oracle Linux Server release 7.6
1 iSCSI / ocfs2 local disk of 600 Gb (no LVM neither CLVM)
DB-creation (O19) took indeed 4 times the time of software-install
Regarding your EM-comment , the installer installed DB Express (https://vmoralin19c:5501/em) which is a local subset of the real OEM (and indeed not configured as indicated/asked => no oraagent installed & configured to join a central OEM)
Anyway , clear and effective “roadmap to install 19c”.
Did you find some time to install Grid/Clusterware 19c as well ?
K r,
Yves